DIY GameBoy PCB Upgrade: A Simple Process Like Making Grilled Cheese
Upgrading your GameBoy PCB is now accessible thanks to a new guide that simplifies the process significantly.
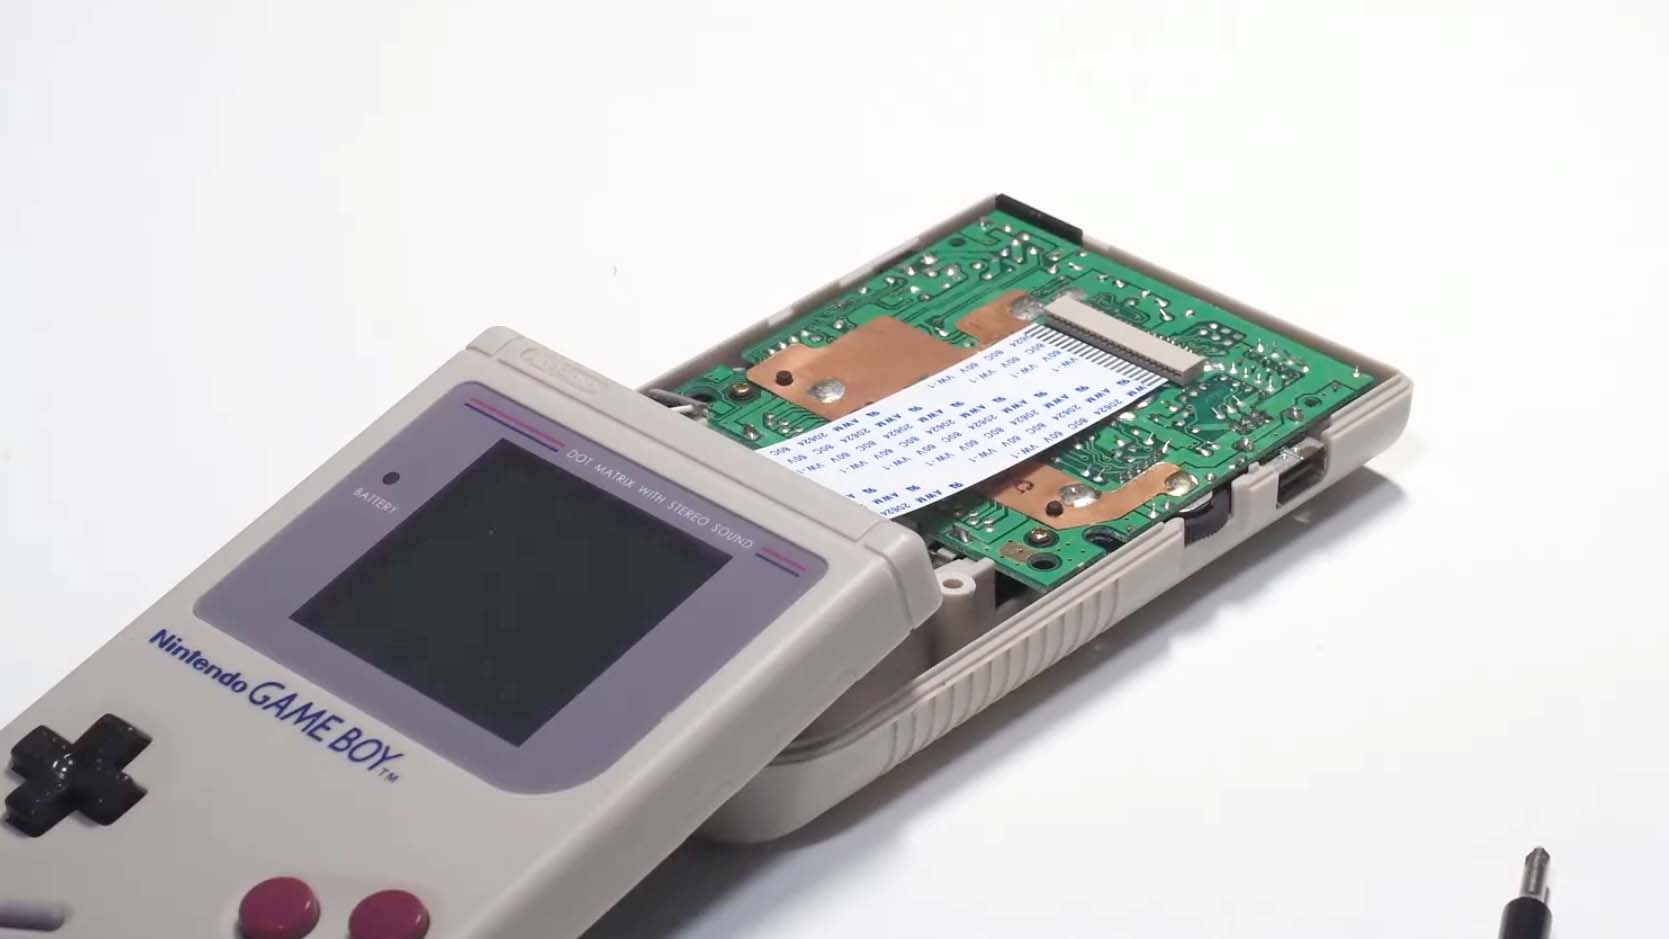
Making your own upgraded GameBoy PCB is almost as easy as making a grilled cheese sandwich
When you think about creating intricate electronics, it often feels daunting. However, Tobi has shared an interesting approach that makes upgrading a GameBoy as straightforward as crafting a delicious grilled cheese sandwich. The project focuses on assembling a PCB for an upgraded GameBoy using a RP2350B processor, commonly known as a Pi Pico 2.
Using budget-friendly tools, Tobi demonstrates how to set up a USB-powered hotplate for soldering. Components are gently secured, heated, and allowed to align themselves before final adjustments are made. Though the results may not be immaculate, they yield significant improvements over stock parts.
The end product may not be flawless but certainly outshines the default models.
Tobi says:
“The result may not be perfect, but it is far better than just ‘working’.”
For a complete overview, check out Tobi’s detailed walkthrough and consider making your own upgraded GameBoy. If you enjoy this project, you could potentially even create games for it without any prior coding experience!